These independent activities saved my life! I purchased all the printables from Teacher Pay Teachers (my all time favorite website!) I laminated them all so I can reuse them next year. The best purchase I made this year was my laminator. I also added magnets to the back so the pieces wouldn’t slide around. These were great activities during small group time for my independent table. They also functioned as additions to my table toys (manipulatives) table, as well as, other centers such as science and art.

What belongs on a farm and what doesn’t belong on a farm. I laminated all the pieces, then placed magnet sheets (on sale at Michael’s) on both sides. The back of the pieces have magnets circles to stay in place.

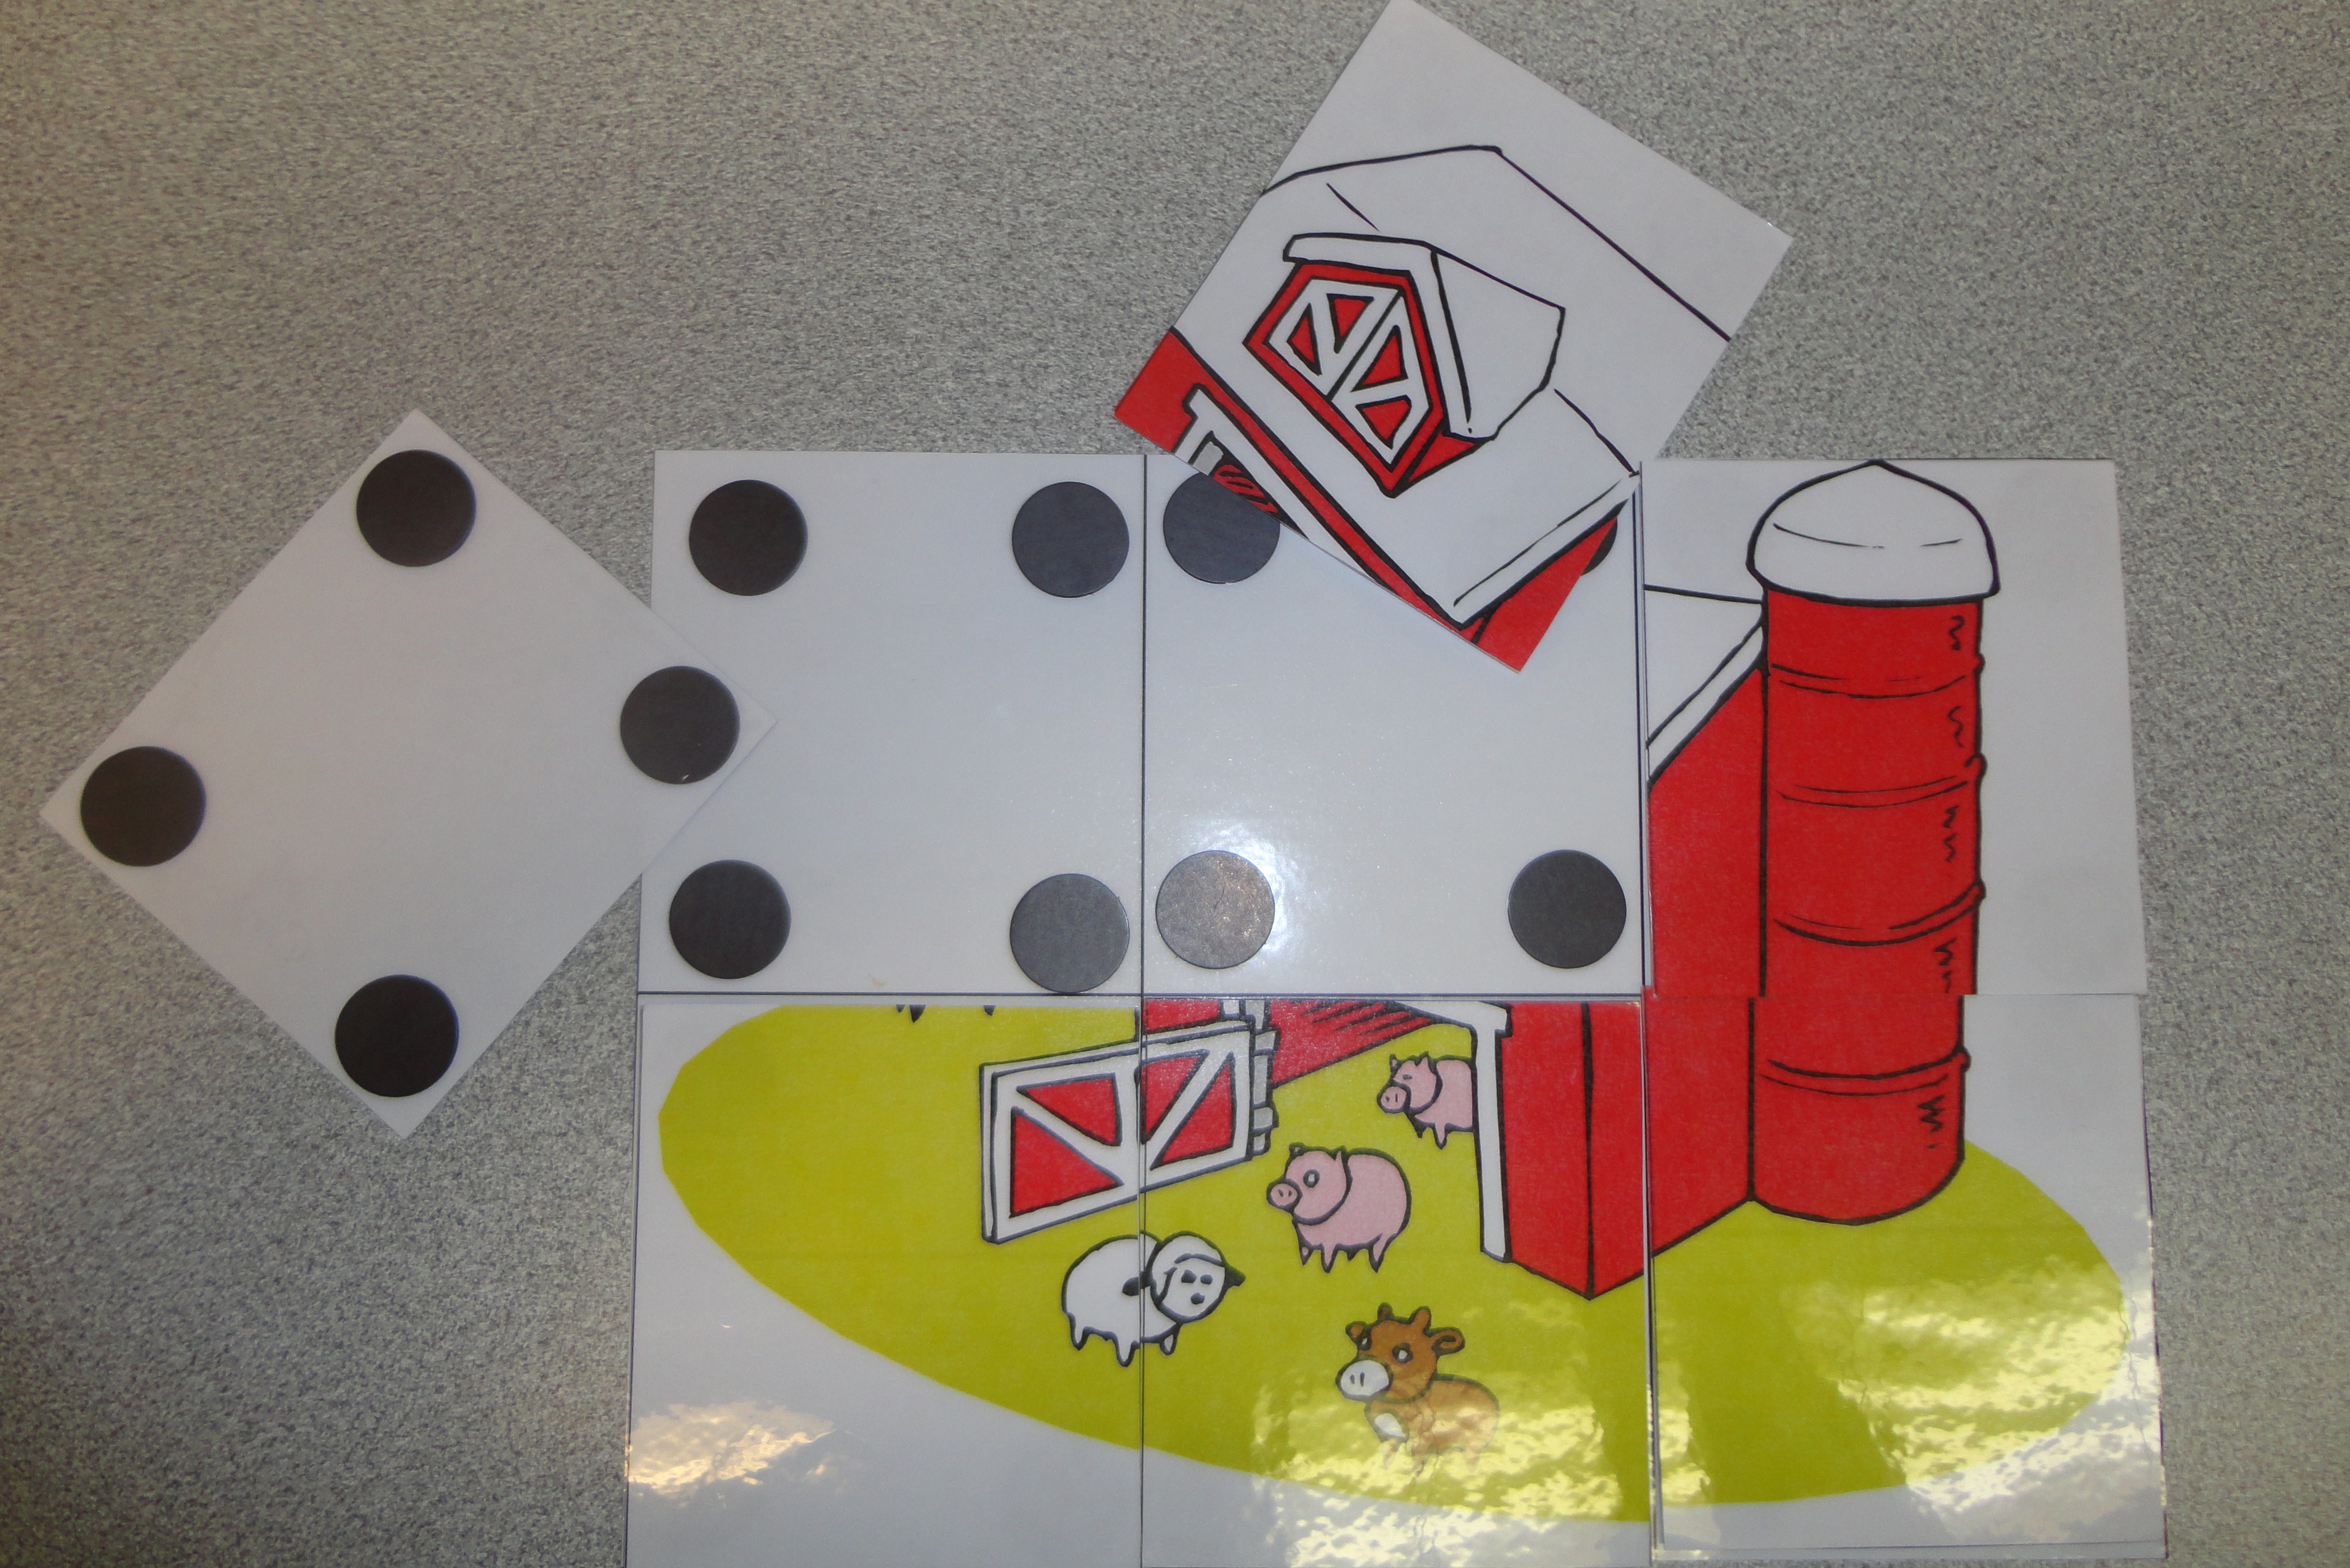
Barn Puzzle. Laminated with magnet circles om the back.

Down on the Farm Clothes Pin Matching

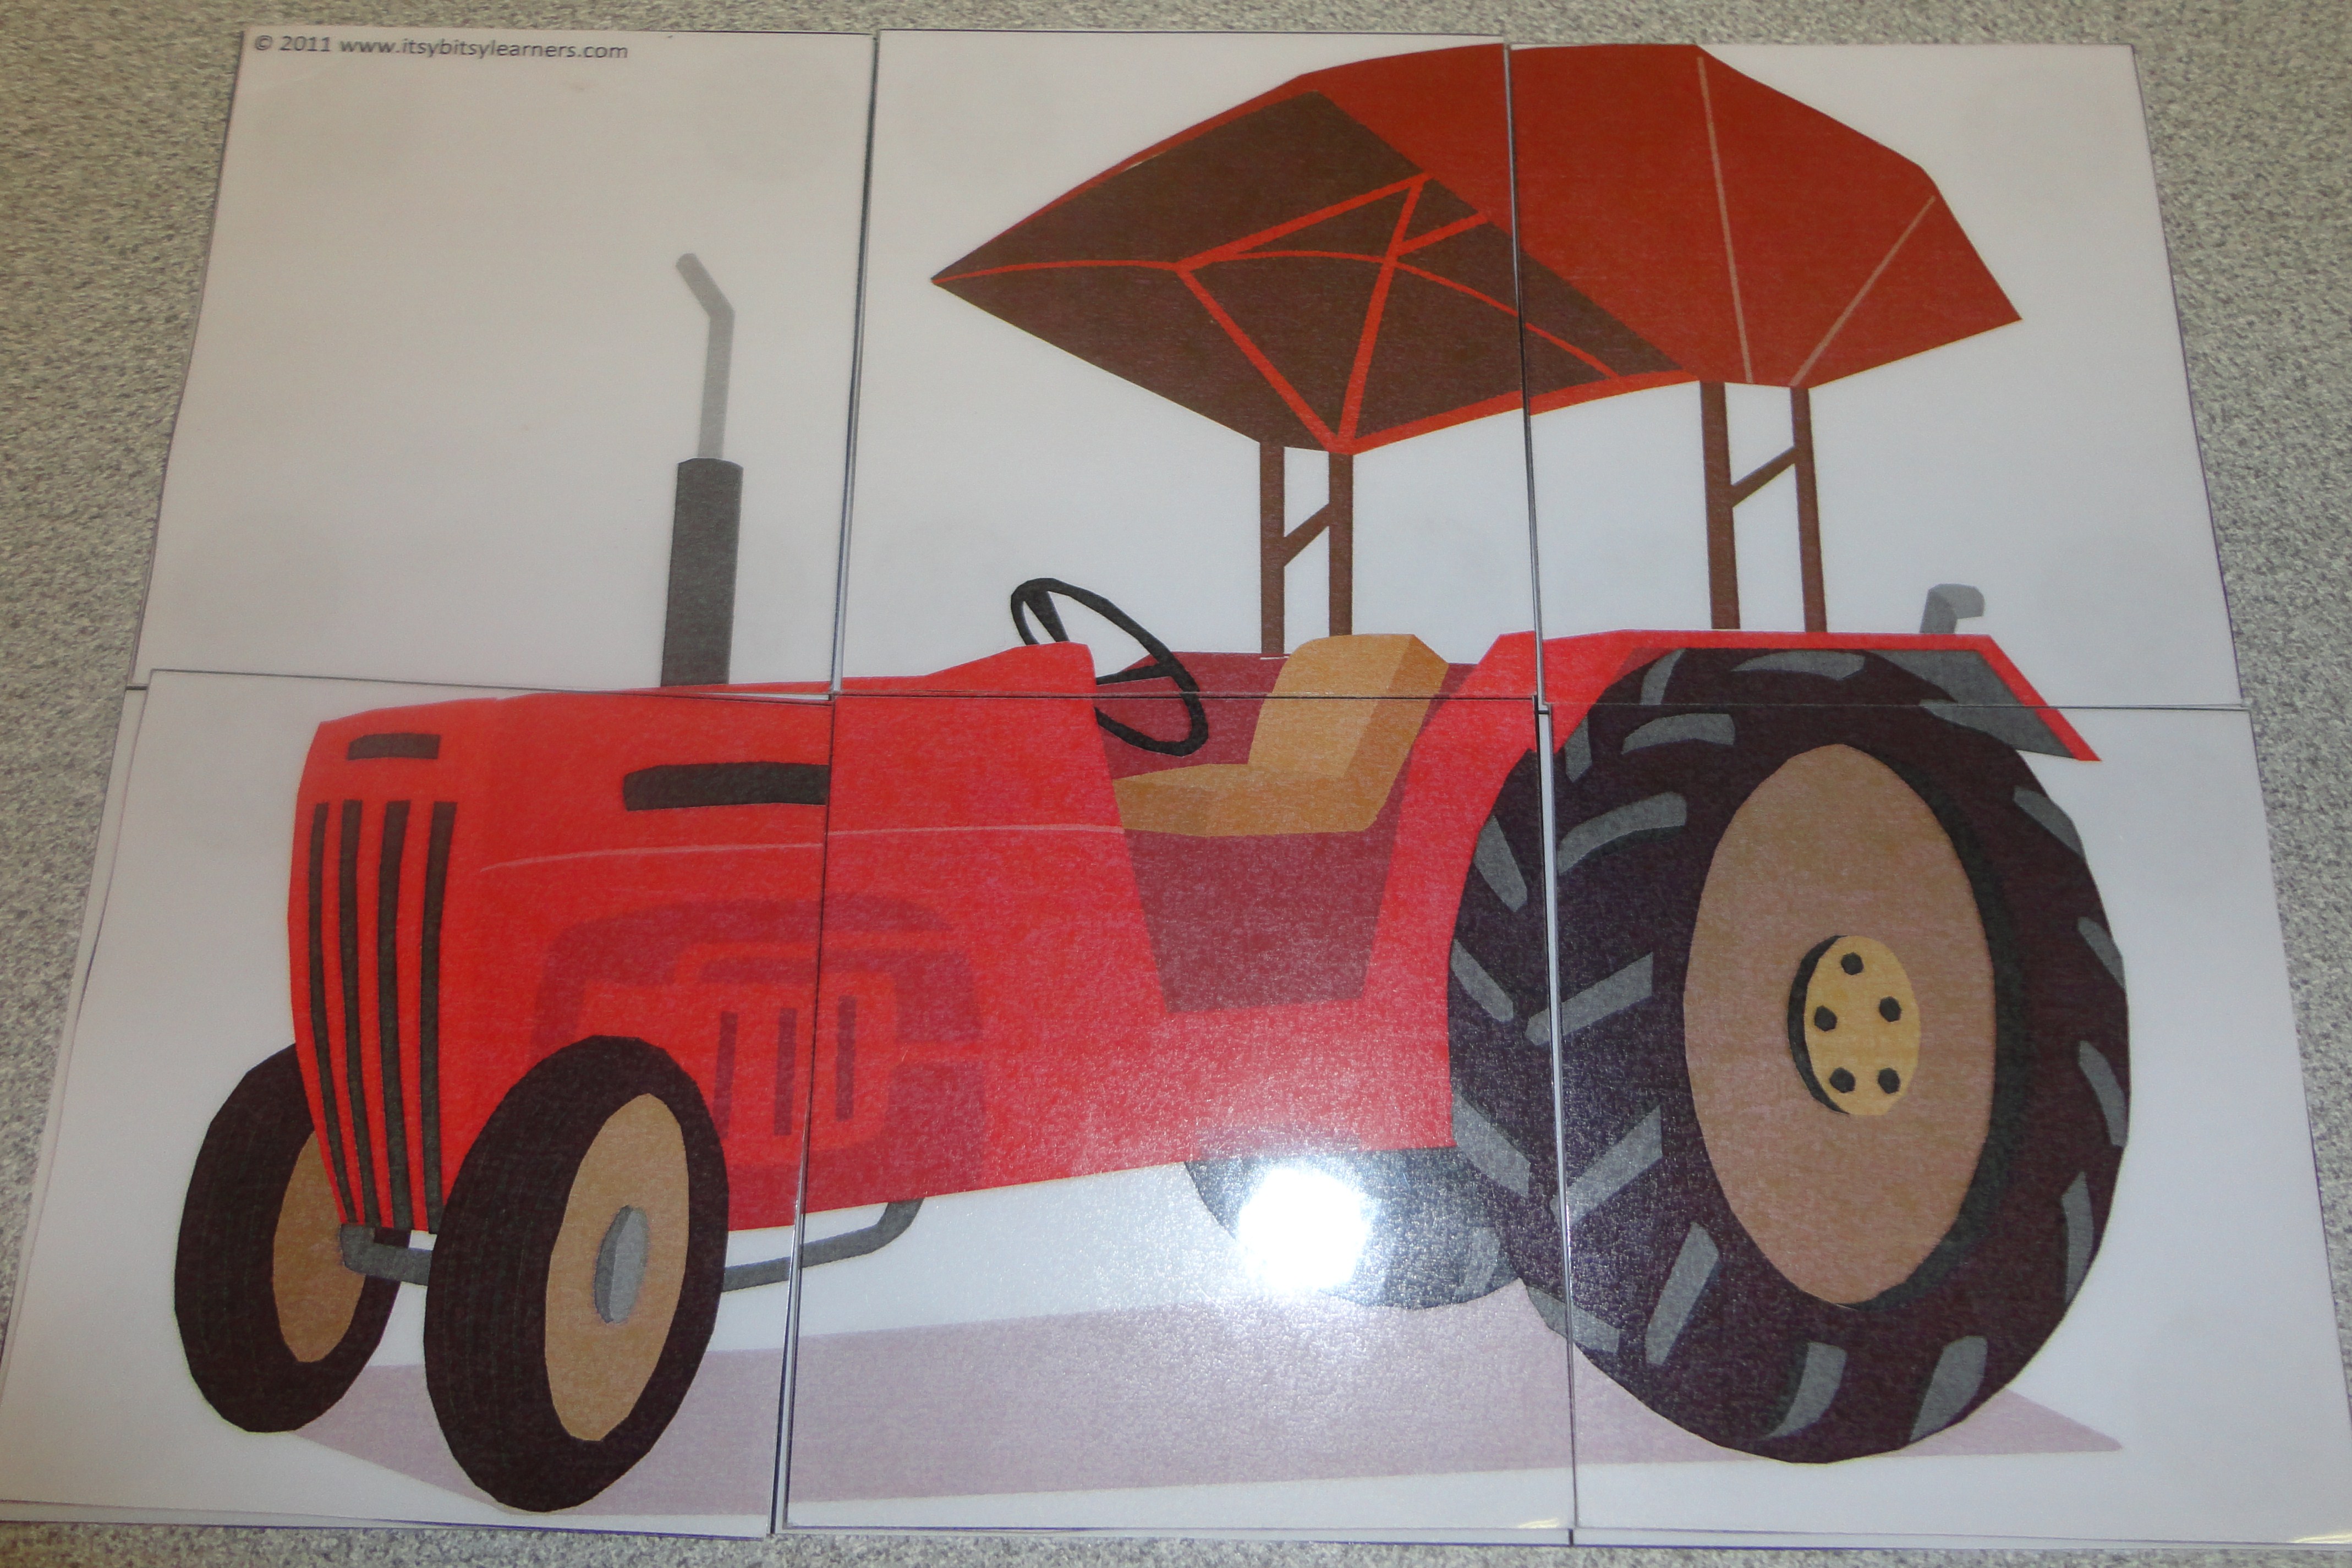
Tractor Puzzle. Laminated with circle magnets on the back.

Farm products clothes pin matching.

Color Matching with Tractors.

Adult farm animal matching to baby farm animal.

Matching shapes with farm animals.
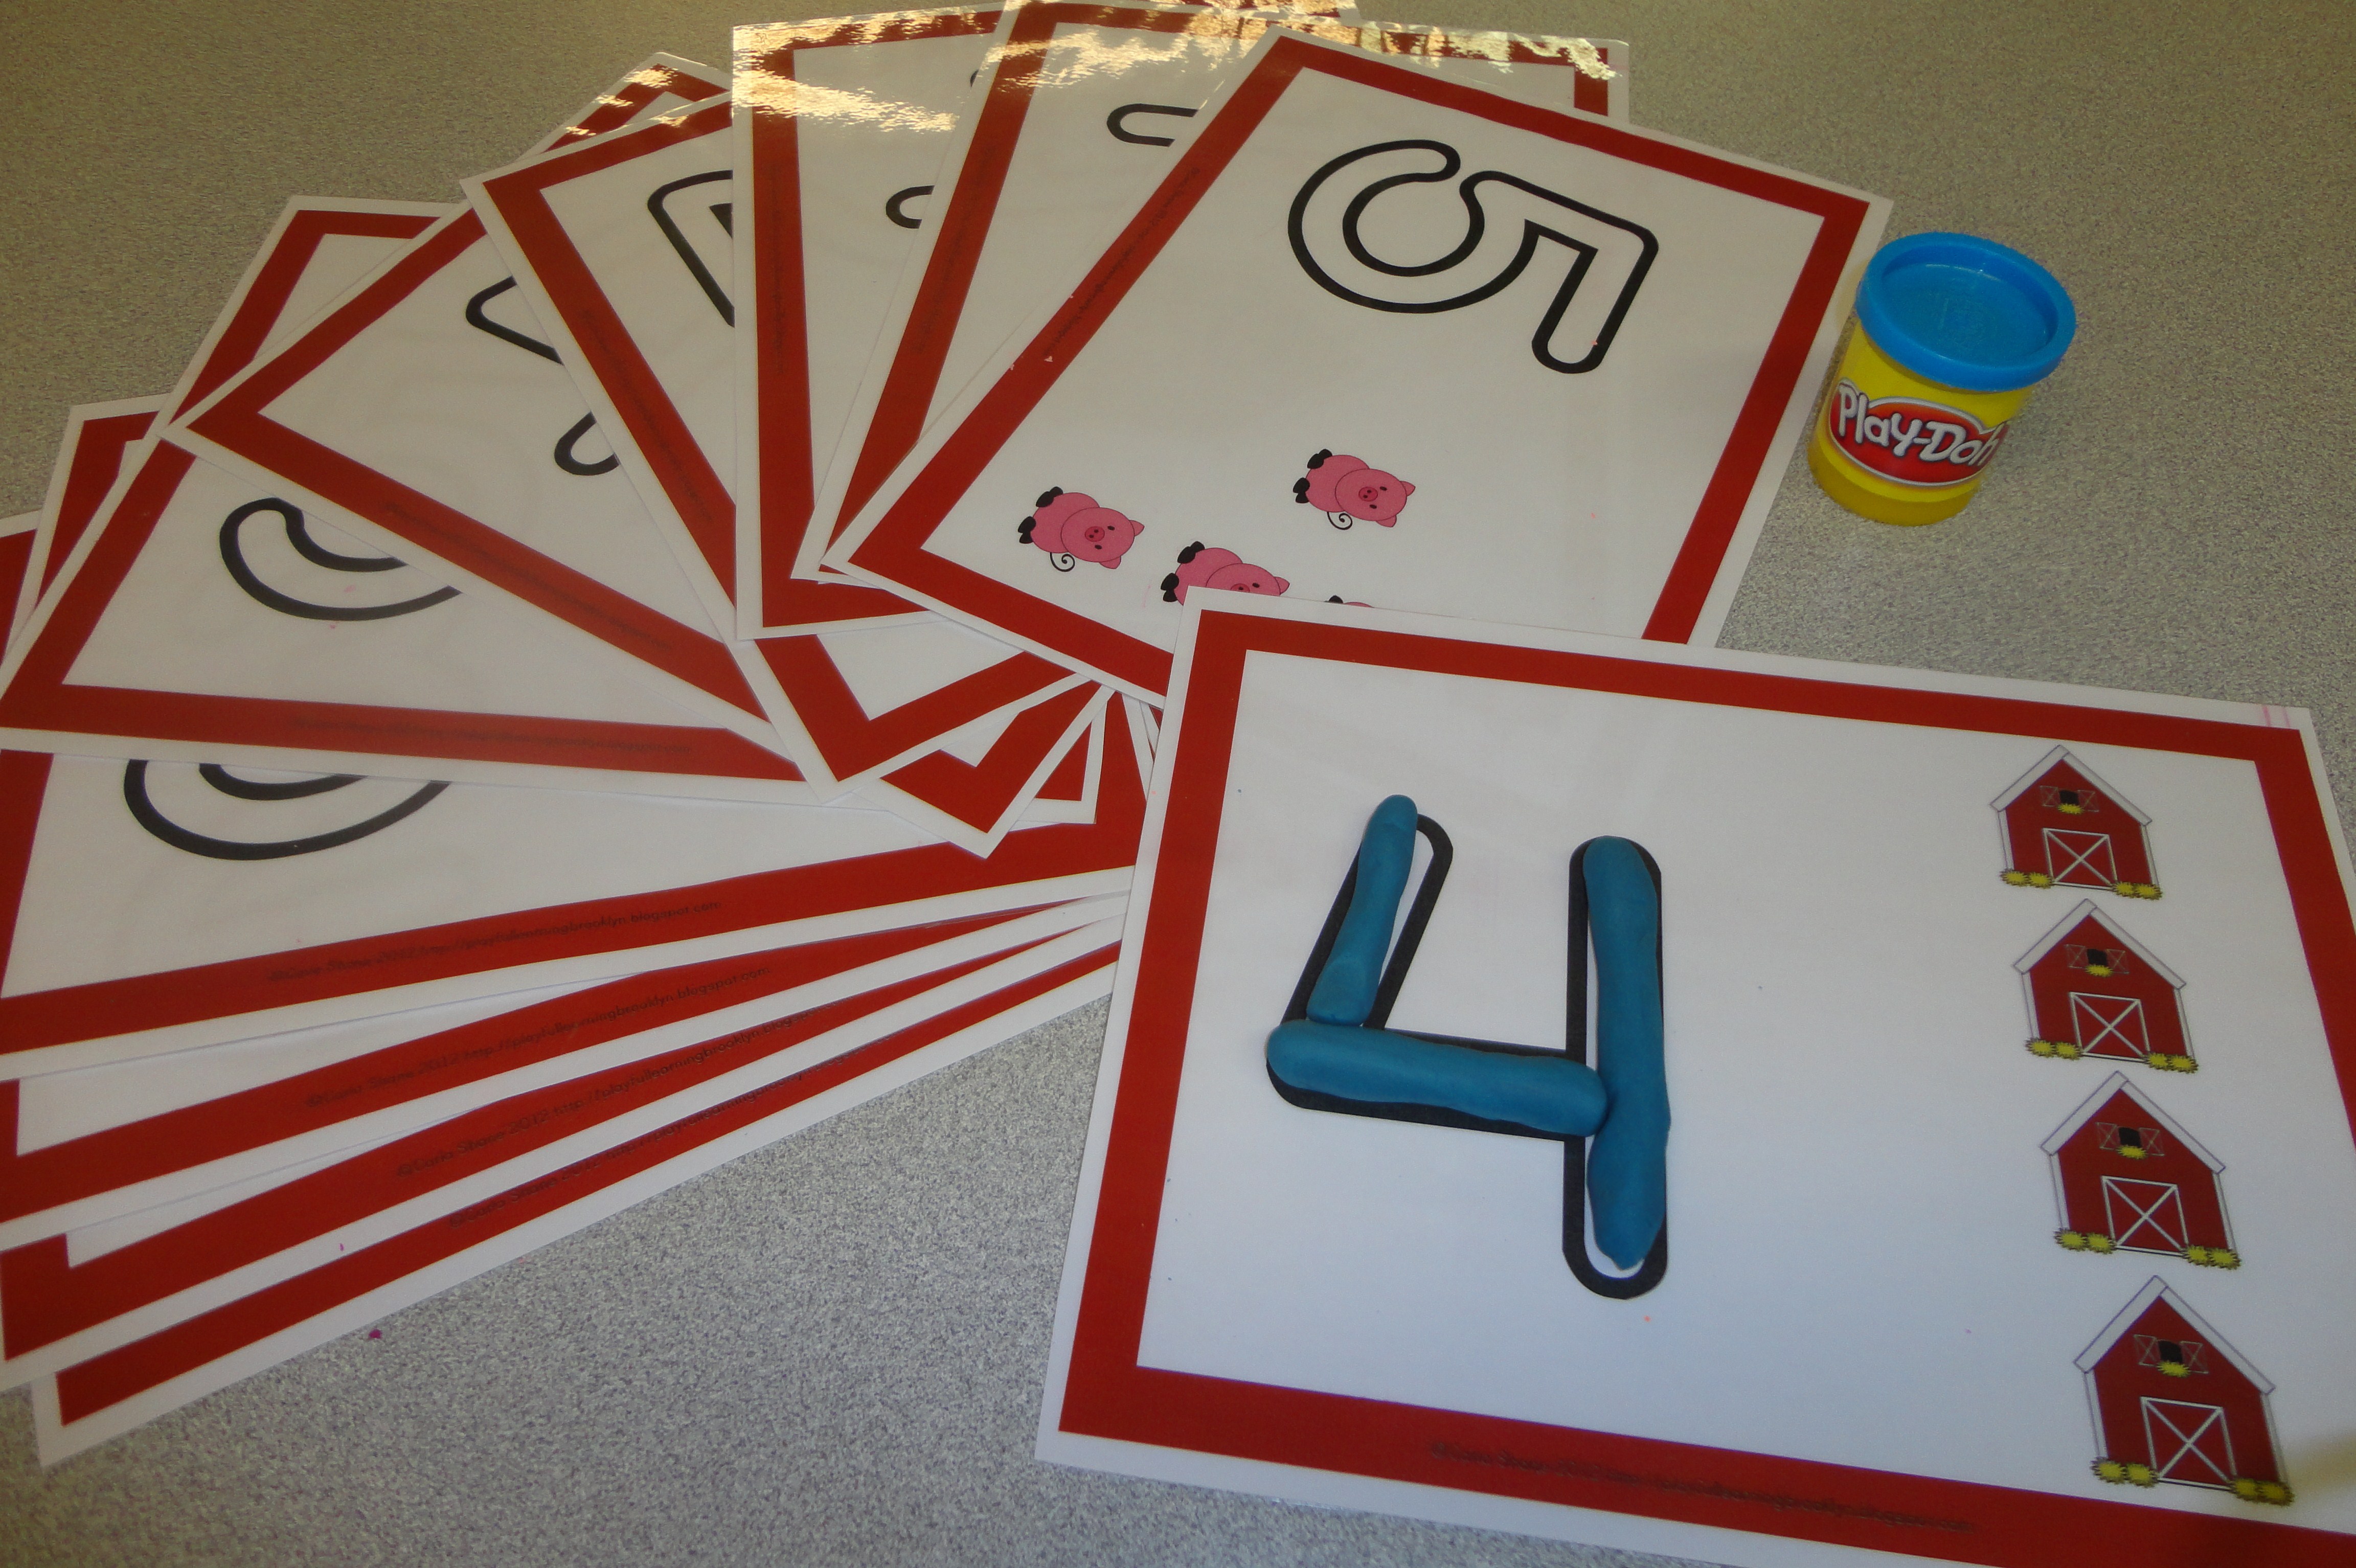
Number playdough mats with a farm theme.

Tracing mats with a farm theme. I laminated these so my students could use them over and over again. Light expo markers work best. Sometimes if the expo marker is too dark the students have a hard time erasing all the ink.

Sequencing with a farm theme.


Farm theme completing the pattern.

Farm animal vocabulary matching.

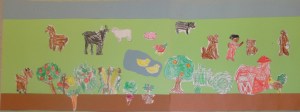
Create a farm scene.

Shape tracing with a farm theme.


Farm theme memory game.

Identify the number. You guessed it in a farm theme 🙂

Tracing or play dough mats for farm vocabulary.
Again, these were all independent activities that the students completed on their own. They saved my life! These were all purchased from Teachers Pay Teachers.
This unit is all about the farm! We focused on the Central Idea: We are dependent upon farms ro provide us with a variety of resources we need in our daily lives. With the Lines of Inquiry: Farm anima;s and crops (Form), The science of growing food (Causation), and Various resources farms provide us (Connection)
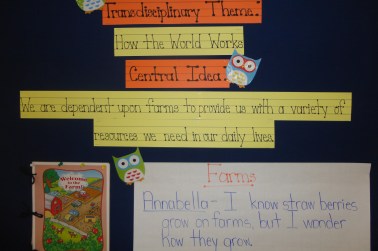
Here is our Knowledge Board which states what Transdisciplinary Theme we are inquiring under, the Central Idea and a “I Know and I Wonder”

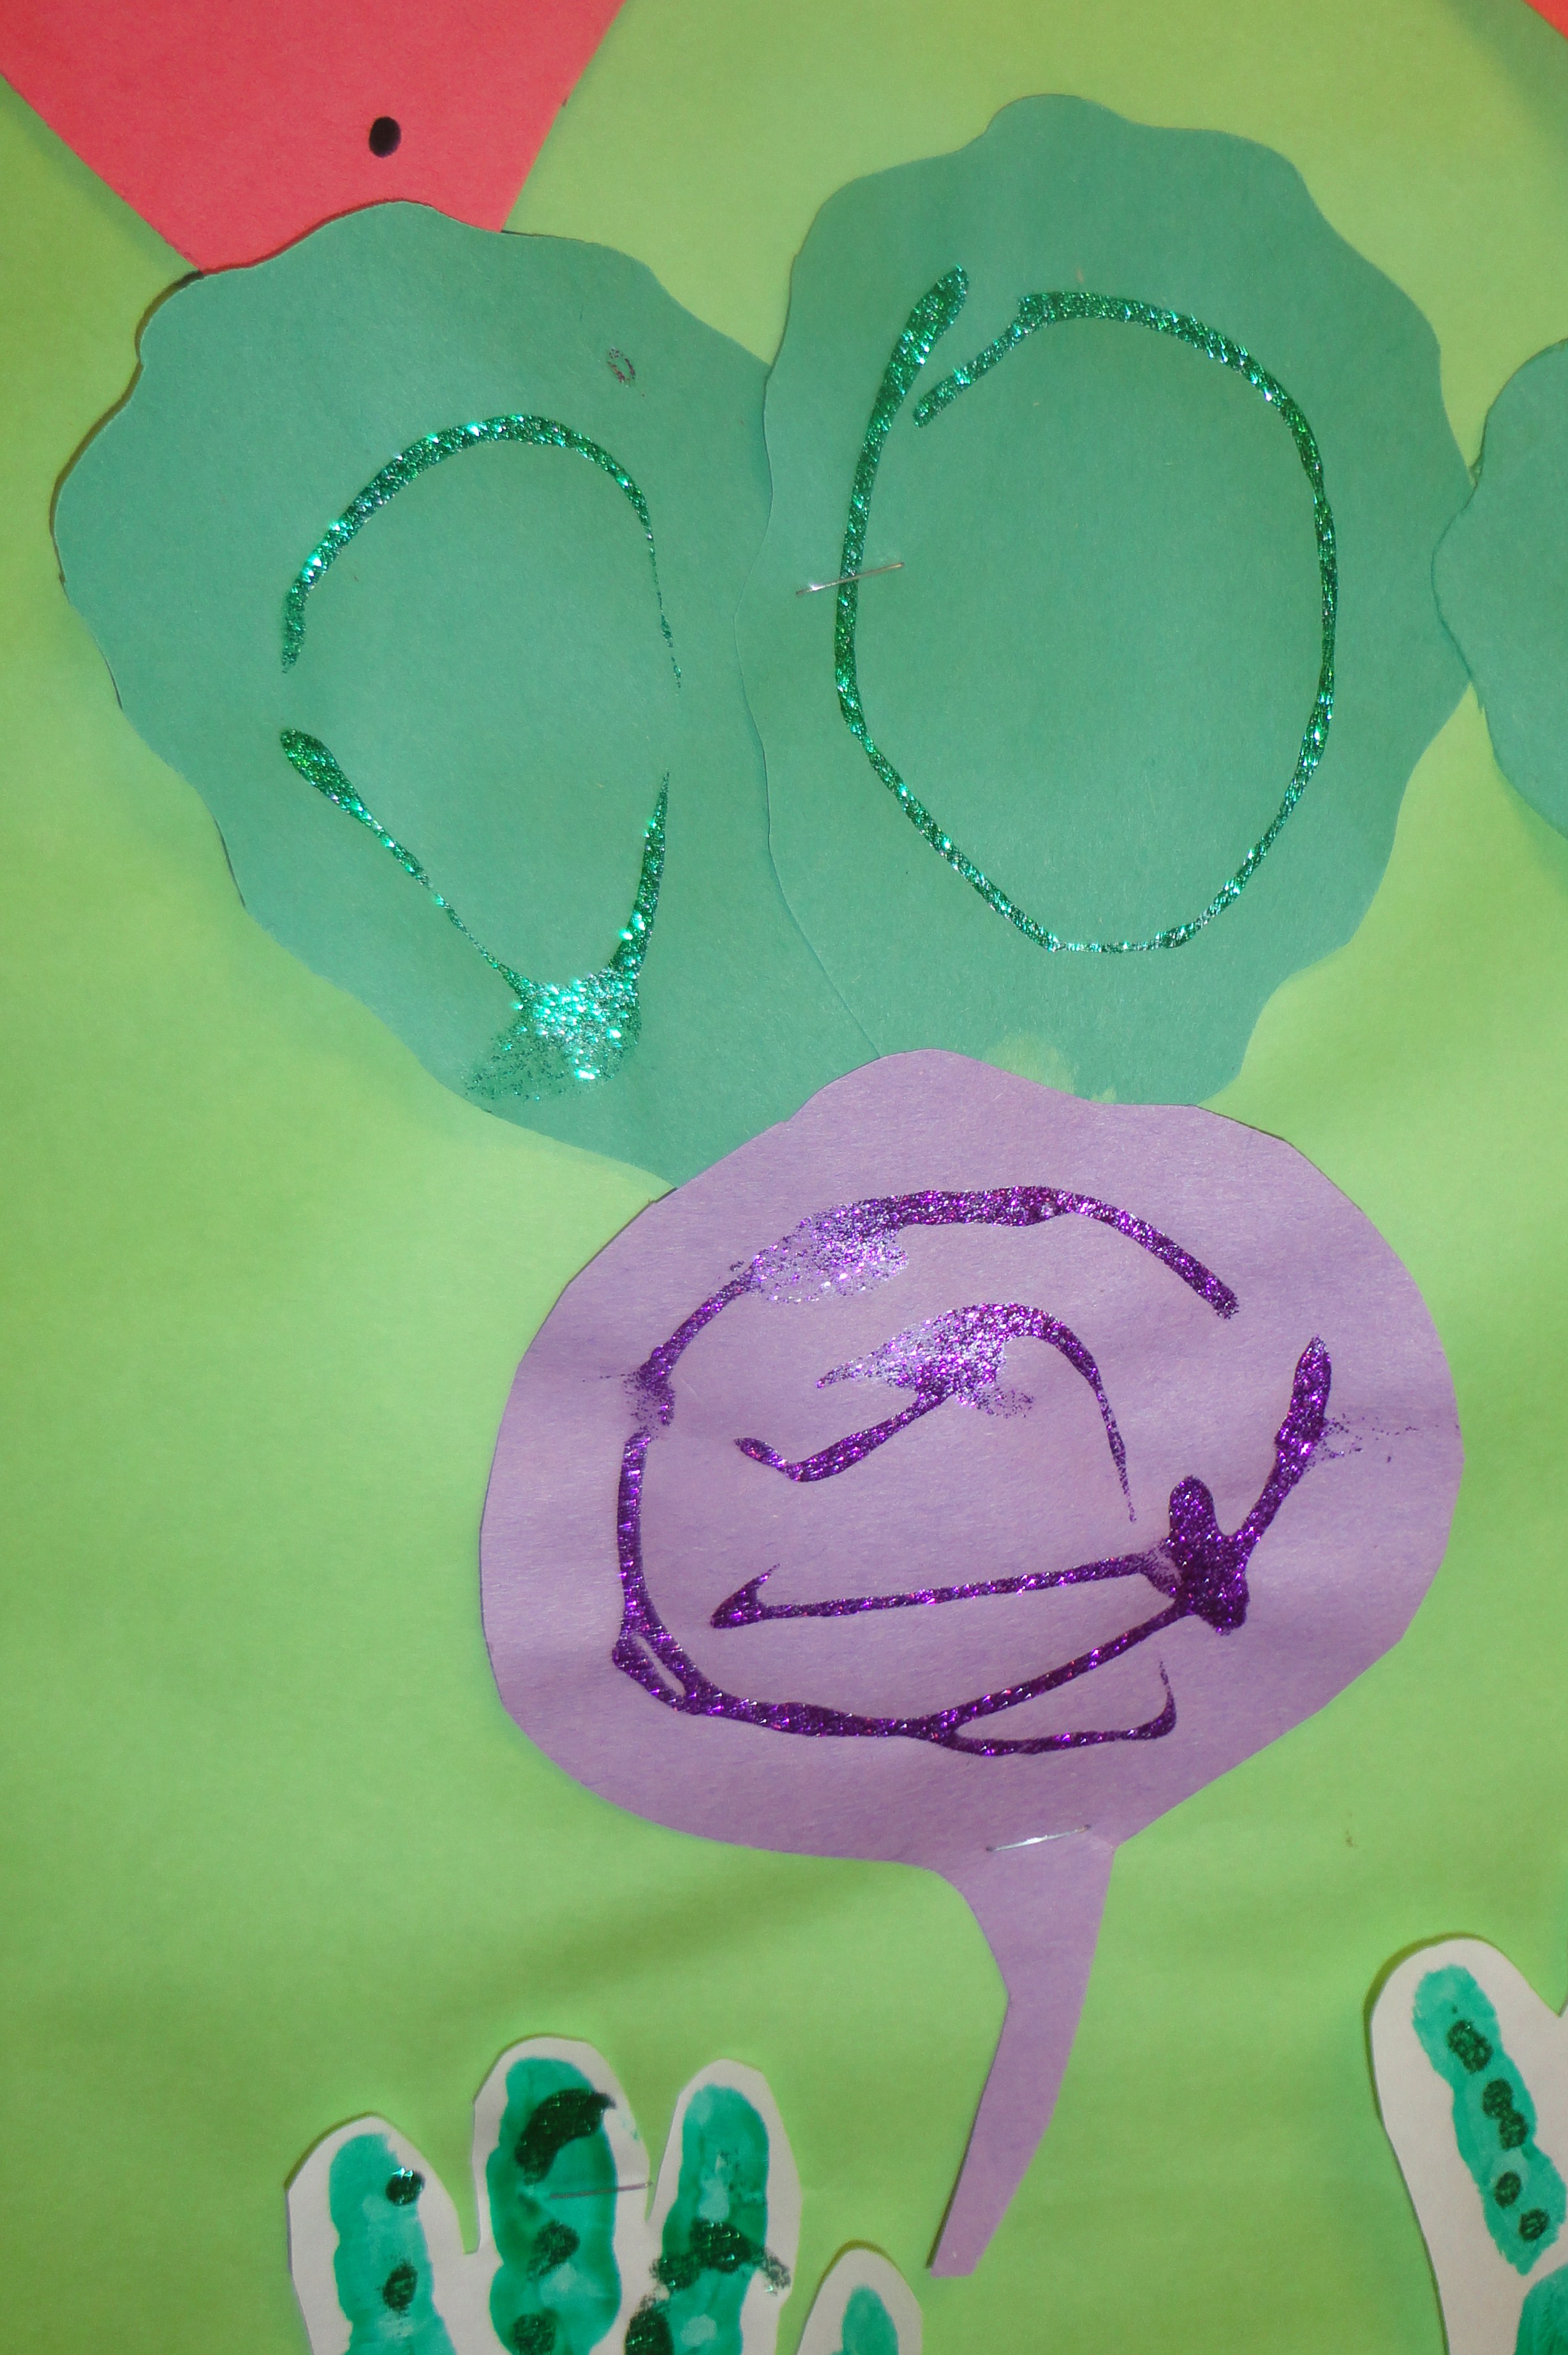
The students created sheep to show that sheep provide us with wool.

The students learned which came first the chick or the egg?


The students created cows or bulls based on glyphs.

The students learned the importance of chickens and how they provide us with eggs and meat.


The students learned the science of growing food. They discover that some crops grow above ground and others grow below ground. (Root vs flowering crops)


The students inquired about the various responsibilities of farmers while completing the Framer Glyph.


The students discovered what crops could be found at a farmers market and that the crops were grown on farms.
This was the summative assessment. The students needed to decide what belongs on a farm and what doesn’t. They corrected colored the farm pieces and had to correctly glue them on the paper. For example the carrot should be under the ground and the strawberries above the ground.

Here is our puppet theater. We had farm animal puppets and farm scene felt pieces.


This was our bulletin board outside our classroom.

The students complete this big craft after we read the book “Pigs in the Mud”


We grew a vegetable garden outside to learn about the science of growing crops.


Here was my pre-assessment of wha the students knew and what they wondered.


I made this barn outside our classroom door. As we completed farm animal crafts we placed them on the barn. But I forget to take an after picture 😦 But this is how our barn started.
It seems as if everywhere I look I see an amazing clip chart. There are so many creative ideas out there. As an IB teacher I atempt to bring IB into everything we do. Since I loved the idea of the clip (moving up and down) I decided to make it IB as well.
It all starts with the Essential Agreements. In our classroom, this means that, rather than teachers imposing rules, evryone works collaboratively to establish an agreement of how the class will function. The students and I developed these Aessential Agreement during the first week of school.

In my classroom if the student moves up one to “I’m Very Cooperative (Blue)” the student places one sticker on his/her clip. Once the student earns five stickers they more their clip to the “Hall of Fame” and gets to choose a prize from the prize box. If the student moves up two to “I’m Extremely Respectful (Purple)” the student is able to get a lollipop from the lollipop plant. If the student moves up three to “I’m Exceptionally Principled (Pink)” the student is able to get a prize from the prize box. If the student is able to stay on “I’m Balanced (Green)” or above all week they will receive a prize from the prize box at the end of the week.
If the student moves down the consequences vary depending on the choice the student made. I’m attaching my parent letter/discipline as well and it is explained there.
Our Choices IB Clip Chart


( I used a Post-It Folder to hold the stickers on the wall. This helps me stay organized, so I don’t have to go searching for stickers to put on the sticks.)
Parent Letter/Discipline Plan for the IB Clip Chart (Our Choices)
Here are some the All About Me Unit Projects we have completed thus far:
All About Me Glyph


All About Me Puppet Theater with various feeling faces and ways we get to and from felt pieces.

What color are your eyes?


Am I a girl or boy?

What color is your hair?


My fingerprints are unique, just like ME!


My family is unique, just like ME! The students used their fingerprints with stamp pads to make the heads of all their family members.


How many letters are in your name?

This is how big my foot is!


We have many more projects to complete. I’ll be sure to post them as we finish them.
One thing that I’ve learned being an IB Age 3 teacher is it’s difficult to introduce the IB Learner Profiles, Attitudes, Concepts, Skills, and Action Cycle to the students. However, I believe it is possible and you can work them all in during Circle Time!
We first begin our day my choosing our Learner Profile for the day. The students come up one at a time and choose the Learner Profile they would like to work on for the day. I ask, “What Learner Profile will you Choose, Act and Reflect on today?” (Notice I also threw in the Action Cycle!) I ask this question to every student as they make their choice. The student then chooses and says, “I choose to be a (learner profile) and (a description of what the Learner Profile means).” Here is an example, “I choose to be a risk-taker and try new things. I choose to be principled and make the correct choices.” At first you will need to model this for the students. It may take several weeks for the students to be comfortable with all the Learner Profiles. It is important that you record everyday the student’s choice. This makes sure the student learns all the Learner Profiles and not just one. Here is a picture of our interactive Learner Profile Daily Choice Wall. I placed adhesive magnet strips on the wall and the student name. You do need strong magnets for this to work.


We then transition into choosing Our Responsibilities. They are normally called helpers but in an our IB Classroom we like to call them Our Responsibilities. I ask, “What will you be responsible for today?” The students respond with, “I will be responsible for the (Helper).” For example, “I will be responsible for being the lights helper/door holder/line leader.” Most importantly we are bringing in the IB Concept Responsibility.

Here is a picture of our circle time bulletin board. You’ll notice it includes the calendar (including yesterday, today and tomorrow sticks below the days), the Question of the Day folder and the I Wonder folder. Everyday we explore a new question, which always begins with I Wonder. The question is related to the day’s lesson, the Central Idea, or a Line of Inquiry. The I Wonder folder contains post its and pens. After our discussion about the question of the day I ask the students if they have any I Wonders. If they do, I write the students I Wonder on the post it including his/her name and the date. The student will then place his/her I Wonder on the Wonder Wall.

Here is a picture of our Wonder Wall. Every few weeks the students take their I Wonders off the Wonder Wall and put them in their portfolios. At the end of the year it’s amazing to see how their I Wonder’s have developed!

Also, during our circle time, on either Mondays or Fridays we complete a self assessment on the current Line of Inquiry we are focusing on. At the beginning of the year I ask the students questions about the current Line of Inquiry. We then discuss together what Level of Knowledge they are at. The students move their picture up as the grasp more Knowledge of the Line of Inquiry. (Look we are using more IB vocabulary, Knowledgable!) Here is a picture of how the students self assess themselves. (I snagged these adorable self assessment posters from Teachers Pay Teachers.)


We then transition into the weather and discussing/reviewing our curriculum goals. I currently use Caterpillars by Carson-Dellusa Publishing.

We also discuss as a class what IB Skills we will focus on. We discuss each skill as a group and choose two we will focus on. Two students then move the globes to the IB Skills we will use for the day. Of course you know we will use all the IB Skills throughout the day, but the goal is to have the students become aware of the IB Skills.


We then discuss our schedule, the various activities and specials we have planned. I use a picture schedule I purchased from Discount School Supply. I use a few pictures of the students and teachers, as well as, the pictures that came with the schedule. (I love this schedule!!)

To conclude our circle time we briefly discuss the various IB Attitude badges the students can earn throughout the day. Throughout the day if I or the students notice someone using an IB Attitude that student will receive the appropriate IB Attitude Badge to wear throughout the day. This encourages other students and teachers around the school at ask them how they earned the Badge. The students then choose centers.
IB Attitude Badges


Center Board (Science Center, Art Center, Library Center, Table Toys, Sand/Water Center, Dramatic Play, Listening Center, and iPad Center) Only 4 Centers are open at a time. The Centers that are open change daily. The students “choose” a center, “act”/play at the center, and then we “reflect” on what the students did in each center.

If you are a preschool teacher you know that the first day of preschool school is harder on mom and dad than the child. This year I decided to make a Parent’t First Day of Preschool Survival Kit.
 Here is a picture of the completed project. I spent an hour or so making them and forgot to take a picture of the finished project! Luckily one of my parents took a picture and sent it to me. You can get the idea from this picture.


Here are the materials you’ll need:
Cotton Balls, Hersey’s Hugs and Kisses, Travel Sized Tissues, Tea Bags, Ribbon, Glue Dots, Mason Jar, and Card Stock
The project is simple. I arranging the cotton balls, Hersey’s Hugs and Kisses, travel sized tissues and tea bags in the jar. I wrapped the ribbon around the jar and used the glue dots to hold the ribbon in place. Then I glued a cut out heart from the card stock to the top of the jar. Finally, I printed out the card and attached it to the front.
Just in case you can’t read the parent letter. Here’s what it says:
Dear Preschool Parent,
Here is a little “gift” for you as you leave your precious one with me on the first day of school. As you hold these cotton balls in your hand, the softness will help you remember the gentle spirit of your child. After you’ve gone home and dried your tears with these tissues make yourself a hot cup of tea. Put up your feet and relax. Enjoy some extra hugs and kisses and know that you may not always be with your little one but I promise they’ll always be in your heart. Remember, together you and I will work for your child to be the best he/she can be.
Thank you for entrusting your child to me for the coming school year. I will do my best every year to be your child’s guise in learning and exploring this bright, new world they just stepped into. I look forward to an amazing school year.
God Bless,
Ms. Twist
This is a great inexpensive little gift for moms and dads on the first day of school.
This is officially my first blog! I am an International Baccalaureate Age 3 teacher. When I first became in IB teacher I struggled to find resources, ideas, and support in the Age 3 range. So it is my goal to share the ideas I’ve collected along on the way and those that found me. I hope you enjoy the journey!
